DialogFragment使用示例1
弹窗,是常见的一种提示方式。市面上有多种多样、五彩缤纷的弹窗。

本文记录弹出一个简单窗口的方法。
确定UI样式
首先我们得知道做成什么样。一般来说简单的弹窗是一个标题,一端文字内容。 或者带有一两个按钮。
这里我们做一个有标题和文字的简单弹窗。
layout
确定好样式后,先把layout写出来。
dialog_simple.xml
<?xml version="1.0" encoding="utf-8"?>
<androidx.constraintlayout.widget.ConstraintLayout xmlns:android="http://schemas.android.com/apk/res/android"
    xmlns:app="http://schemas.android.com/apk/res-auto"
    android:layout_width="match_parent"
    android:layout_height="match_parent"
    android:padding="12dp">

    <TextView
        android:id="@+id/title_tv"
        android:layout_width="match_parent"
        android:layout_height="wrap_content"
        android:gravity="center"
        android:textColor="#111111"
        android:textSize="16sp"
        android:textStyle="bold"
        app:layout_constraintEnd_toEndOf="parent"
        app:layout_constraintStart_toStartOf="parent"
        app:layout_constraintTop_toTopOf="parent" />

    <TextView
        android:id="@+id/content_tv"
        android:layout_width="match_parent"
        android:layout_height="wrap_content"
        android:layout_marginTop="20dp"
        android:gravity="center"
        android:textColor="#111111"
        app:layout_constraintEnd_toEndOf="parent"
        app:layout_constraintStart_toStartOf="parent"
        app:layout_constraintTop_toBottomOf="@id/title_tv" />

</androidx.constraintlayout.widget.ConstraintLayout>
新建弹窗类
新建一个SimpleDialog类继承DialogFragment。
- 在
onCreate方法中接收传入的数据。传递数据使用了Bundle。 - 在
onCreateView方法中,使用上文建立的layout。 - 在
onViewCreated方法中进行ui操作。
import android.os.Bundle;
import android.view.LayoutInflater;
import android.view.View;
import android.view.ViewGroup;
import android.widget.TextView;
import androidx.annotation.NonNull;
import androidx.annotation.Nullable;
import androidx.fragment.app.DialogFragment;

public class SimpleDialog extends DialogFragment {
    public static final String K_TITLE = "k_title"; // 传输数据时用到的key
    public static final String K_CONTENT = "k_content";

    private String title;
    private String content;

    @Override
    public void onCreate(@Nullable Bundle savedInstanceState) {
        super.onCreate(savedInstanceState);
        Bundle in = getArguments();
        if (in != null) {
            title = in.getString(K_TITLE);
            content = in.getString(K_CONTENT);
        }
    }

    @Nullable
    @Override
    public View onCreateView(@NonNull LayoutInflater inflater, @Nullable ViewGroup container, @Nullable Bundle savedInstanceState) {
        return inflater.inflate(R.layout.dialog_simple, container, false);
    }

    @Override
    public void onViewCreated(@NonNull View view, @Nullable Bundle savedInstanceState) {
        super.onViewCreated(view, savedInstanceState);
        TextView titleTv = view.findViewById(R.id.title_tv);
        TextView contentTv = view.findViewById(R.id.content_tv);

        titleTv.setText(title);
        contentTv.setText(content);
    }
}
使用
把这个窗口弹出来。我们使用DialogFragment.show(@NonNull FragmentManager manager, @Nullable String tag)方法。
private void popSimpleDialog1(String title, String content) {
SimpleDialog dialog = new SimpleDialog();
Bundle bundle = new Bundle();
bundle.putString(SimpleDialog.K_TITLE, title);
bundle.putString(SimpleDialog.K_CONTENT, content);
dialog.setArguments(bundle);
dialog.show(getSupportFragmentManager(), "one-tag");
}
// 调用
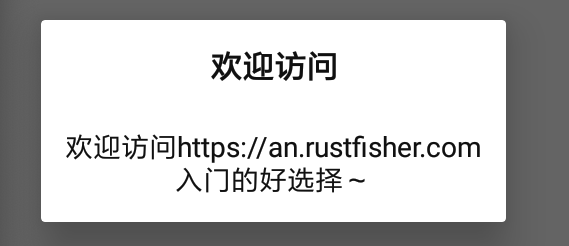
popSimpleDialog1("欢迎访问", "欢迎访问https://an.rustfisher.com\n入门的好选择~");
运行到机器上可以看到效果。
小结
使用DialogFragment来实现弹窗。
需要确定ui样式,建立layout,新建类继承DialogFragment,传入数据。
更多关于DialogFragment的信息,请参考改变DialogFragment的显示属性